Multiple Screens in (Kali) Linux | How To
I have felt the need for multiple screens several times simply because of the many tabs and terminal windows I keep open on my box. Hence, to avoid constantly switching between these, I decided to bring in multiple screens . You might have felt the same–especially if you work on multiple applications simultaneously. Some people use these multiple screens while playing games as well.
Before I brought in new screens, I wanted to get a ‘feel’ of using them, and decide whether this is something I would be comfortable with while working. Fortunately, I had an old LG 17’’ CRT monitor lying around which I used for testing this set up of multiple screens. Here, the operating system I am using is Kali Linux (Debian 7 wheezy) but the process is fairly straightforward and would work for any Linux (or Windows) box.
How to set up multiple screen on (Kali) Linux
Firstly, you need to make the hardware connection, that is, connect the other screen’s display cable to your machine. In my case, I connected the old CRT monitor’s VGA cable to my HP laptop.
You need to locate the ‘Display’ panel to set up the initial configuration. This should not be hard to do. On a Debian or Kali Linux box, this would be under
‘Applications’ –> ‘System Tools’ –> ‘Preferences’ –> ‘System Settings’ –> ‘Displays’
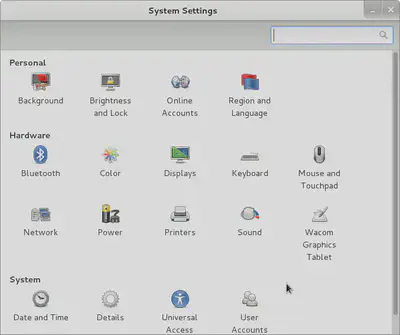
The location of ‘Displays’ could vary according to your Linux distro, however, again, it should not be hard to locate. Once inside, you will see that your OS has detected the two displays. Uncheck ‘Mirror displays’. By default, your laptop’s screen is the primary display and would be on the left. You can drag and change this so that the laptop’s display is on the right–as I have done here.
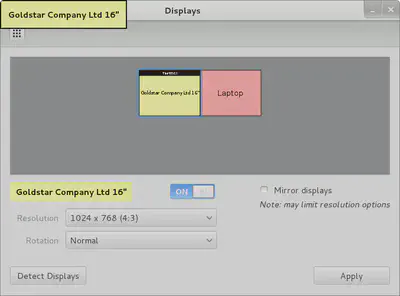
How to set the primary display screen
By default, your laptop’s screen is your primary display. This means that the top panel, containing ‘Applications’ and ‘Places’, and the bottom panel, tracking open windows and tabs, would be available on the laptop’s screen only. I wanted to change this so that my CRT monitor’s screen was the primary screen. To do so, I edited the monitors.xml file in Linux.
Locate monitors.xml in /home/.config/monitors.xml or /root/.config/monitors.xml. Now, edit it in a text editor so that you modify the line containing <primary>yes/no</primary>.
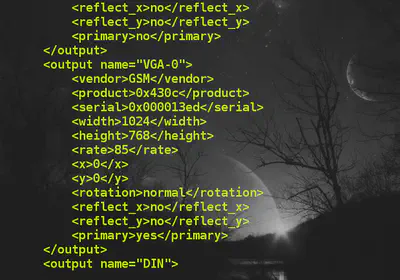
In my case, I have modified the xml file so that the part corresponding to my laptop’s screen says <primary>no</primary>, and the part corresponding to the CRT monitor says <primary>yes</primary>.
Now, the CRT monitor is the primary screen and the ‘Applications’, ‘Places’ etc would show up here. After all the set up, this is what it looks like on my box:
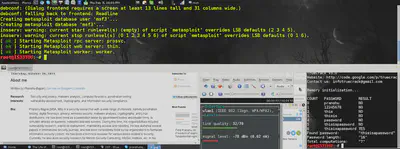
Note that this is the extended display corresponding to both the screens, that is, half of this shows up on one screen and half on the other. This is a picture of my set up:
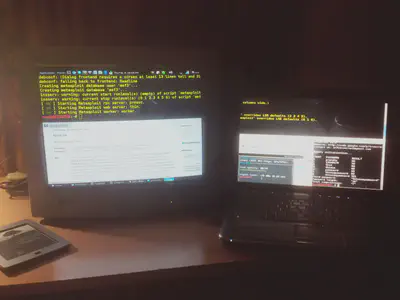
Note: The Guake terminal (yellow font) has been configured to show up on both the screens. For this, I edited the /usr/bin/guake and changed the width from ‘100’ to ‘200’.
So far, I am pleased with this multiple screen set up as it offers me a lot more work space, but it will take a little getting used to.